How to Use Image Studio in TaniX – Part 2
The class showed how to preview images, crop unwanted parts, download them, and send them from Image Studio to Code Lab.
This recap was written from the class video. Watch it above or on YouTube.
What the class covered
The class showed how to preview images, crop unwanted parts, download them, and send them from Image Studio to Code Lab. It also demonstrated refining images, changing their shape to wide or tall, and using them in a website.
Key takeaways
- Click the preview button to see the full image.
- Use Crop to remove parts you do not want, then download the result or send it to Code Lab.
- Click Use in Code Lab to transfer an image. In Code Lab, click Upload to find transferred images.
- Use Refine to make changes to an image, such as adding more laptops.
- Choose square, wide, or tall when generating an image in a different shape.
Prompts to try
Make sure there is no typo. I want it to be professional.
Add more laptops to that image.
I need only the image, no text on it. Make it high quality and real.
Use my image as the founder. Make me look like a farmer with the rice.
Test yourself
1. What does the preview button let you see?
2. What should you click in Code Lab to find images sent from Image Studio?
3. What can the Crop feature do?
Keep reading

How to compress your images for free
The class showed how large images can take up space and make a website slow.

How to Convert Audio to Text in Seconds for FREE
The class showed how to turn speech into text by recording audio in the tool or uploading an audio file.
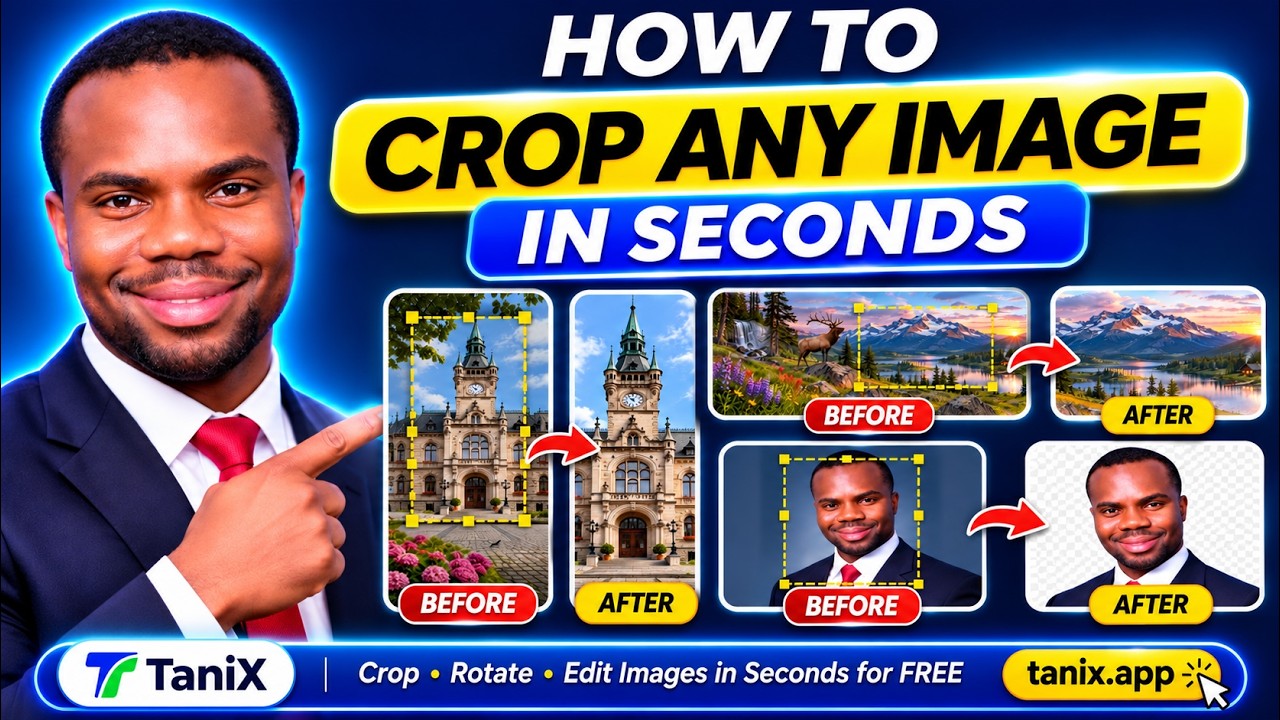
How to Crop and Rotate Any Image in Seconds for FREE
The class showed how to use TaniX’s Crop and Rotate tool to select part of an image, crop it, and download the result.